I'm Kelsie, an Ohio portrait & product photographer
Categories:
Seniors
Branding
Families
Products
Personal
Want to book?
Let's chat!
Tune into my Youtube
My trick for achieving proper exposure
Now that we all understand the manual mode triangle and know how to set our cameras on manual, it’s time to learn more about exposure. In case you missed the first few posts in this series, here’s my tips for how to set Aperture, ISO and Shutter Speed. Each of these components of manual play a role in achieving proper exposure in your images. However, with different lighting situations, this can still be a little tricky. Today, I’m going to share my number one tip for how to achieve proper exposure in your images. But first, what does that even mean? Well when I think of proper exposure, I think of what my eye would naturally see when I look at my subjects. This means that the whites and highlights are not “blown out.” You can still see the details in the brightest parts of the image and It looks bright, but not too bright. Honestly, everyone has a slightly different perception of proper exposure, so keep that in mind as you keep reading.
Before I dig too deeply into this, one other thing to keep in mind is that this is just one style of photography. I have a very clean, natural looking edit, while other photographers have a very dark and moody edit or a bright and airy edit. The exposures in those styles are going to be much different than what I’m going to share with you today. However, the tip that I share today can be applied to any style.
Alrighty, friends! My #1 tip for achieving proper exposure is to meter your exposure according to the skin tones. This means that when you are changing all of the manual settings on your camera, you know you’ve hit the jackpot when you take a picture and the skin looks great. It isn’t washed out and shiny, or muddy looking. I promise there’s a way to get proper skin tones in almost every situation. And for the few circumstances in which you cannot, that’s where knowing how to edit comes in to save the day. Anywho, that could be a whole other blog series in and of itself!
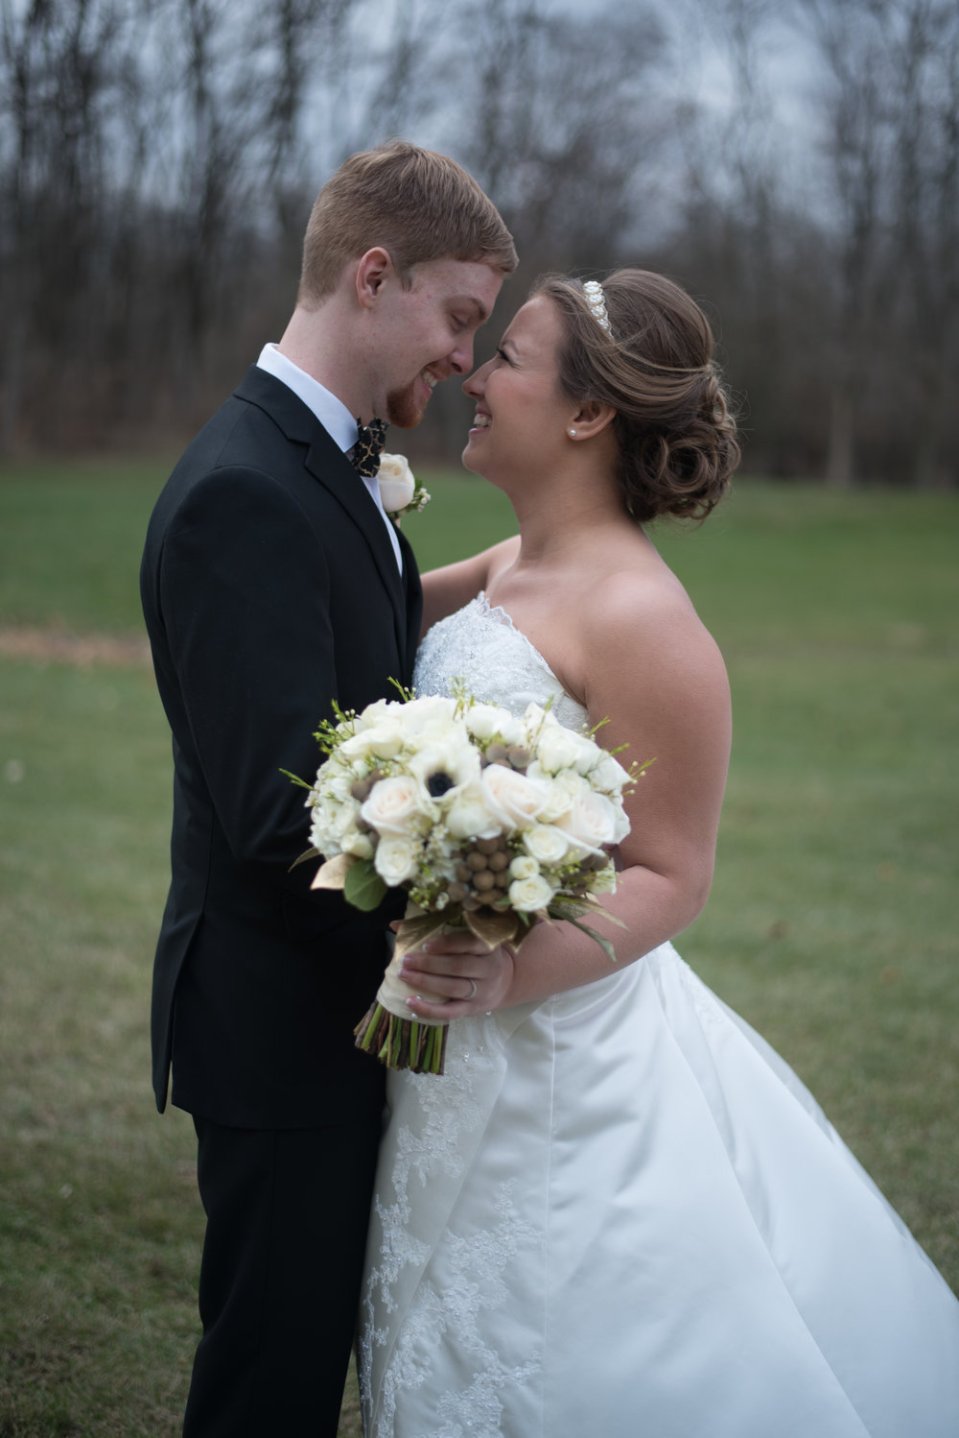
Let me know you some examples of me testing out my exposure. Keep in mind that these are test shots! This means I was not directing Kelsey and Travis, but was simply manipulating the settings on my camera to get them to a point in which I was happy before we started their bride and groom portraits. This first image is extremely over exposed. You can hardly see the detail in Kelsey’s beautiful gown, and their skin is very washed out. you can barely tell where her dress ends and her skin starts… Yikes! Most of the time this happens when I forget to change my settings after shooting indoors.

In this next example, I slightly over corrected and under exposed the image. This caused their skin tones to have dark, gray shadows, and his suit is very heavy (it kind of looks like a black blob).

Finally, this is what I ended up with! The skin tones look alive, there is life in them. The image is creamy and has just the right amount of highlights and shadows to make the image “pop,” at least in my opinion! hehe

Now, I do want to point out that if you know how to use your editing software and you shoot on RAW, it is possible manipulate images in ways that you would never imagine. For example, I quickly edited the top two images to match the correctly exposed image in-camera. The image on the left was the over exposed image and the image in the middle was the under exposed image. Kind of cool, huh?? Now, I almost always will only deliver the images that were shot correctly in-camera for a variety of reasons, but just in case, there’s a way to fix it if need be.

My last tip for you is this: it’s always better (in my opinion) to under expose in-camera than to over expose. This is because when you over expose in camera you lose some of the details that you’ll never be able to get back. (just take a look at the top of Kelsey’s dress in the left, edited image and you’ll see what I mean.)
Friends, if you haven’t already noticed, I have such a passion for photography that I cannot contain it (hence, why I’m sharing it with you!!). If you want to learn more about your new camera, how to edit or just want to talk about all things photography, stop by the contact page and say hello. I’d love to geek out over photos with you 🙂